Winner of the Best Orthodontic Lab
5-Time Townie Choice Award Winner

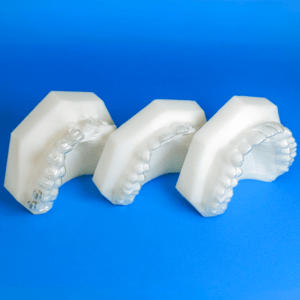
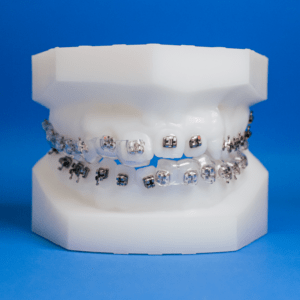
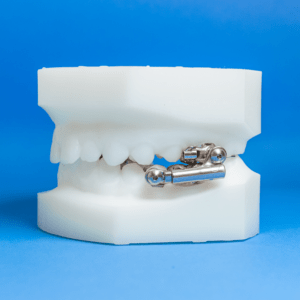
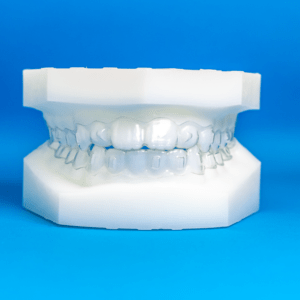
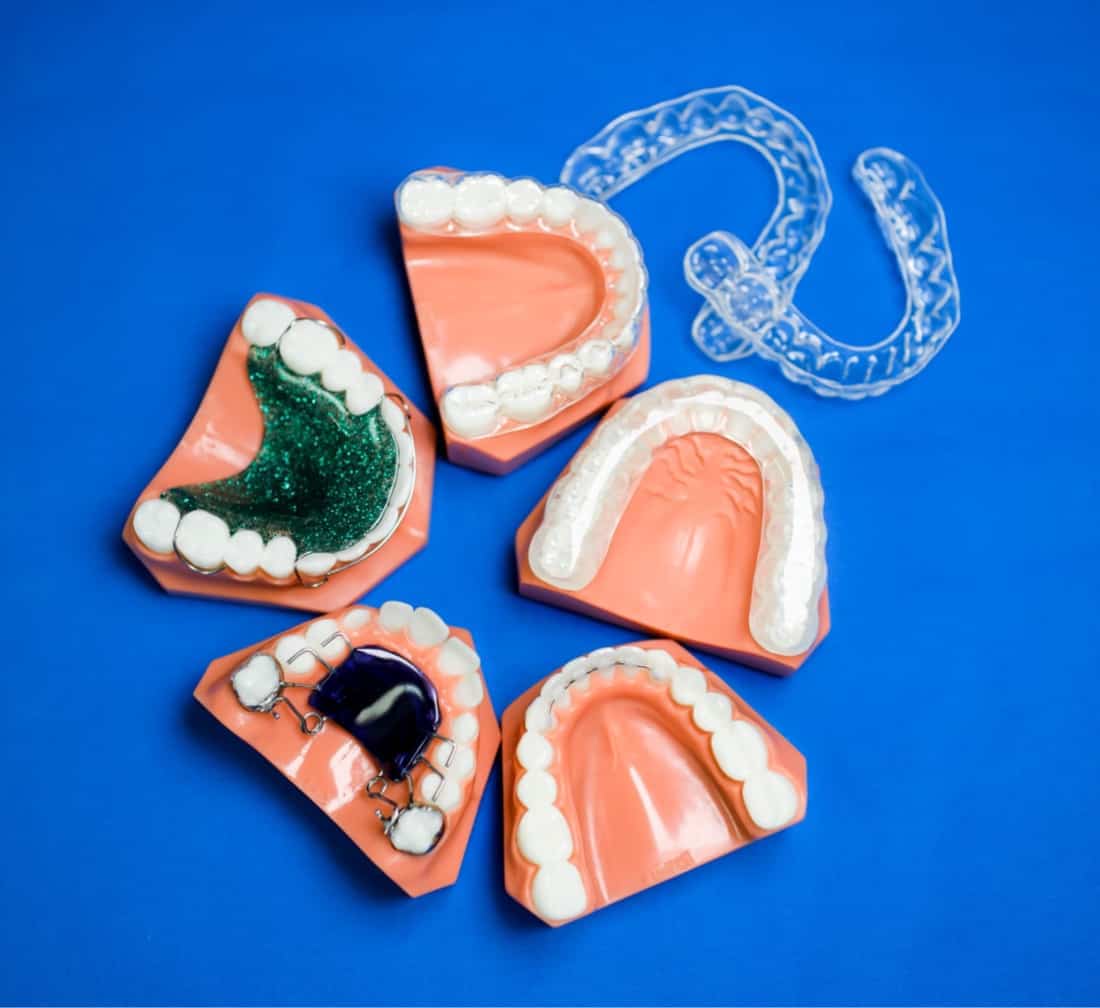
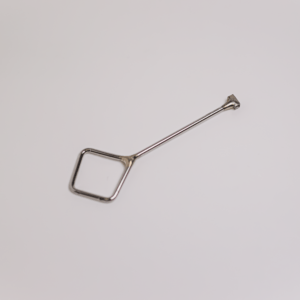
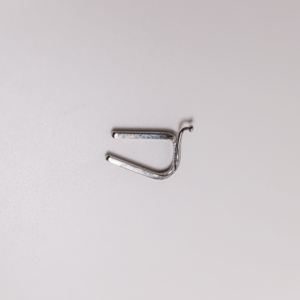
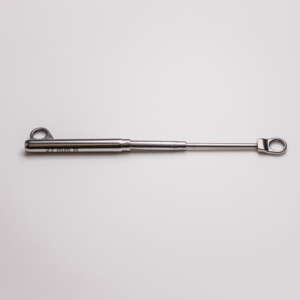
Custom Appliances, Parts & Tools
The Lowest Remake Rate in the Industry? Precisely!
For practitioners who have enough to worry about, Specialty Appliances offers orthodontic products and services that provide the peace of mind of exceptional quality, on-time delivery and the lowest remake rate in the industry.
View Appliances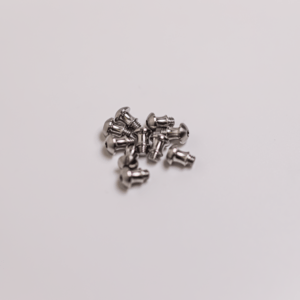
Trusted Quality & Expertise—for Positive Patient Outcomes
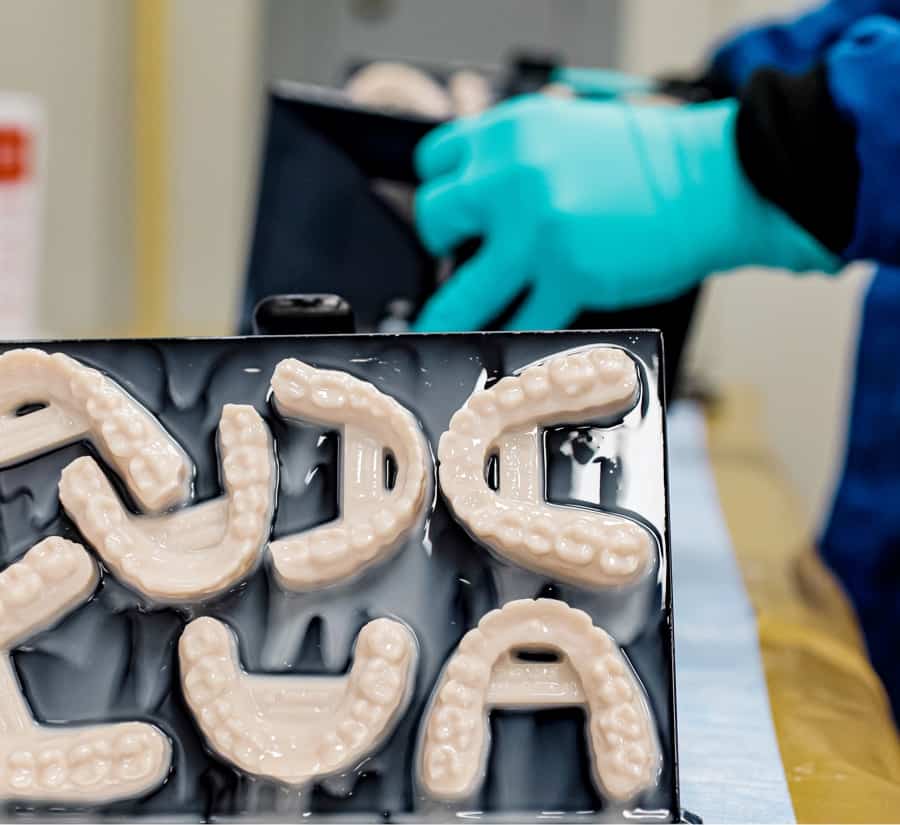
Exceptional Quality
- Made in USA
- Rigorous processes
- ISO-certified, FDA-compliant
Trusted Expertise
- Named “Best Orthodontic Lab” – 2023
- 40+ years of excellence
- Experienced team of certified dental technicians
Service & Convenience
- 10-day turnarounds
- Guaranteed on-time delivery
- Cutting-edge technology to give you the best at a reasonable cost
Winner of the Best Orthodontic Lab
The AAO First Annual Orthodontic Awards
Built by Experienced Dental Techs, Praised by Top Orthodontists
“Their indirect bonding trays fit perfect EVERY SINGLE TIME. Placing brackets with these trays reduces my stress and makes placement of brackets far more accurate and efficient.
I would not want to do orthodontics without them. Love this company. ”
— Dr. Bryan Francey —
“I have used Clear Image aligners for several years. I have found them to be an efficient and economical way to treat alignment issues! Turn around on cases is quick and easy.”
— Dr. H. Jeffrey Lindsey —
“We have been using Clear Image Aligners for years now and love them! It is especially useful for relapse cases that don't want to go back into braces and don't want the high cost of brand-name clear aligner treatment.
This is a great product that is extremely efficient at moving teeth, and as always, the technicians at Specialty are easy to work with to ensure good results”
— Dr. Kelly L. Walters —
“I have been using Clear Image Aligners since 2017, and I cannot imagine practicing without them.
They allow me to detail the teeth more precisely than with wires, and the patients win by getting their braces off a few months earlier.
Happy orthodontist and happy patients--definitely a Win-Win scenario!”
— Dr. Steven C. Ricci —