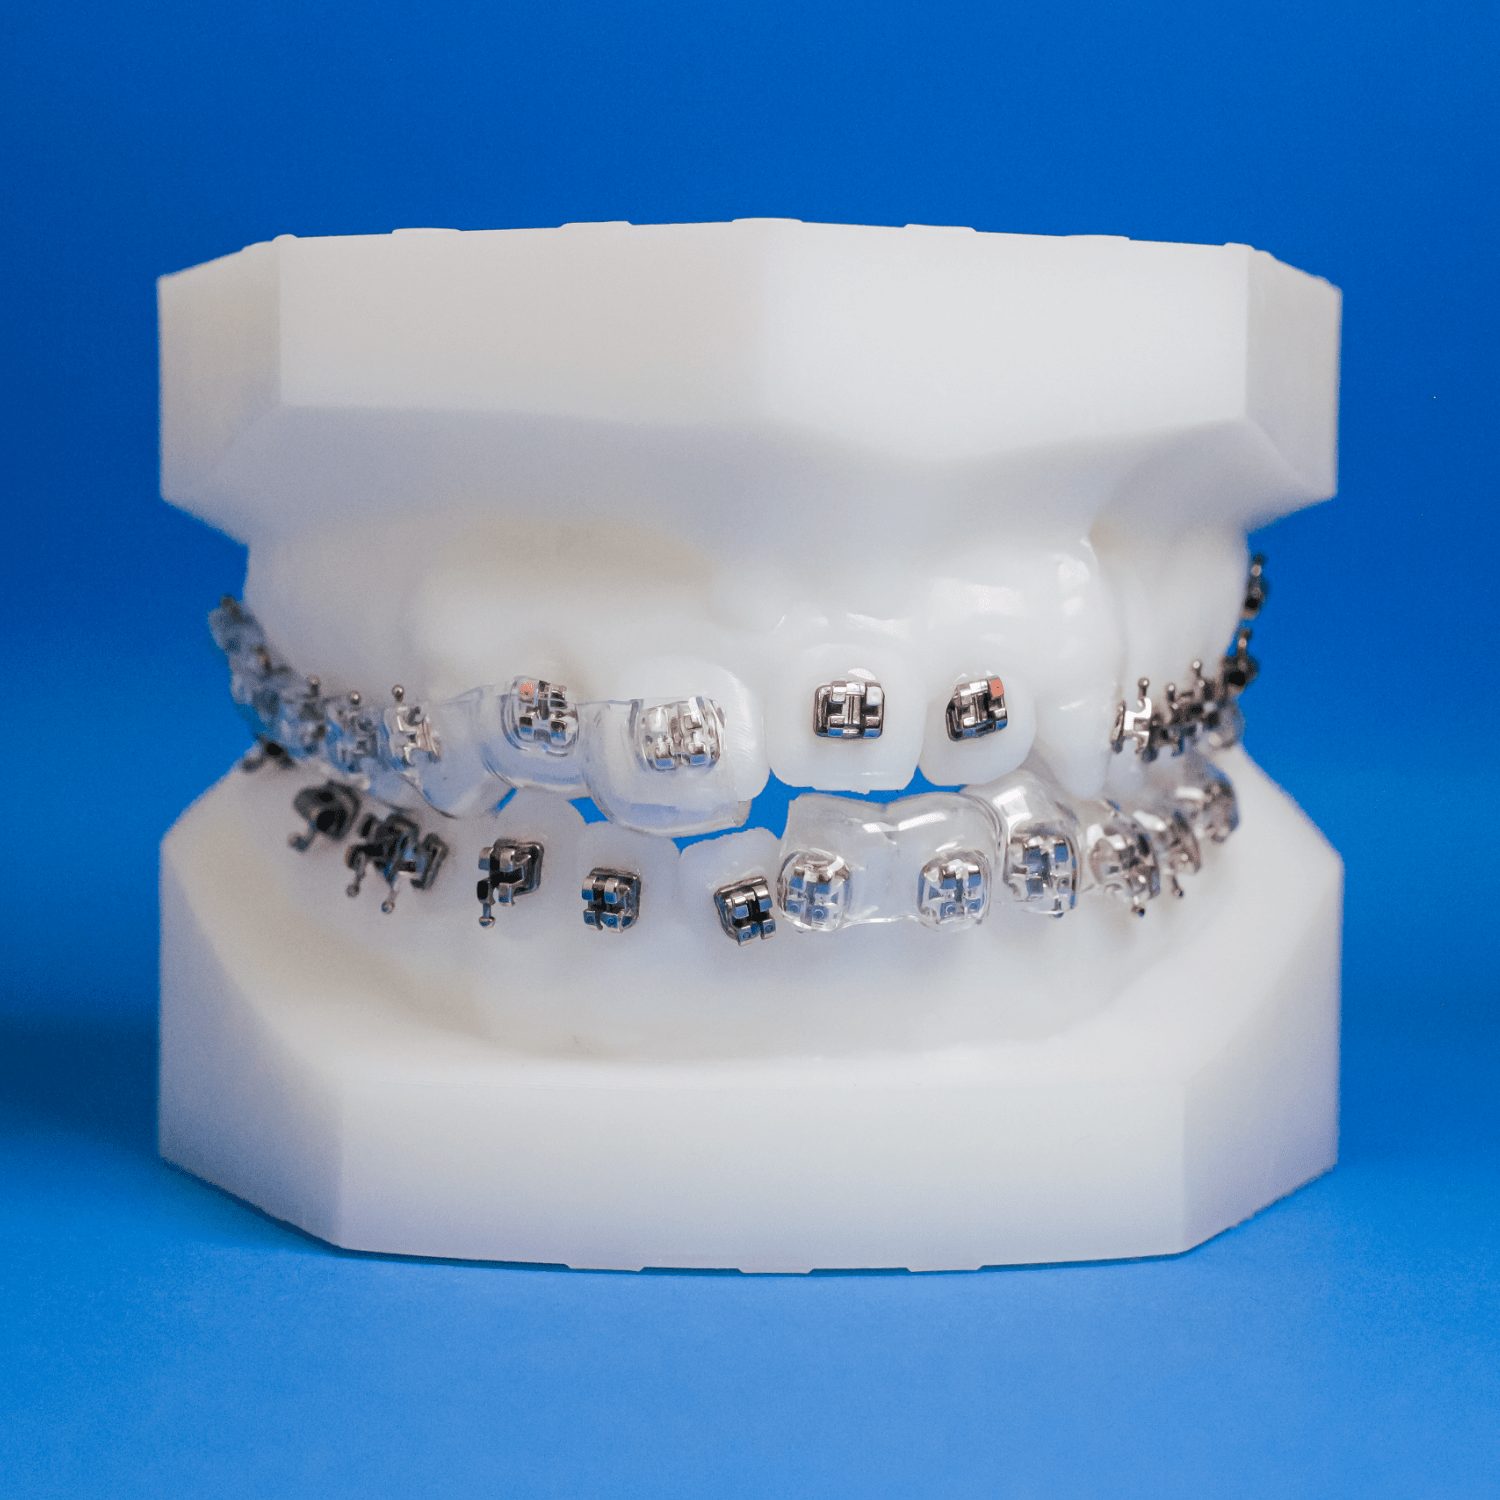
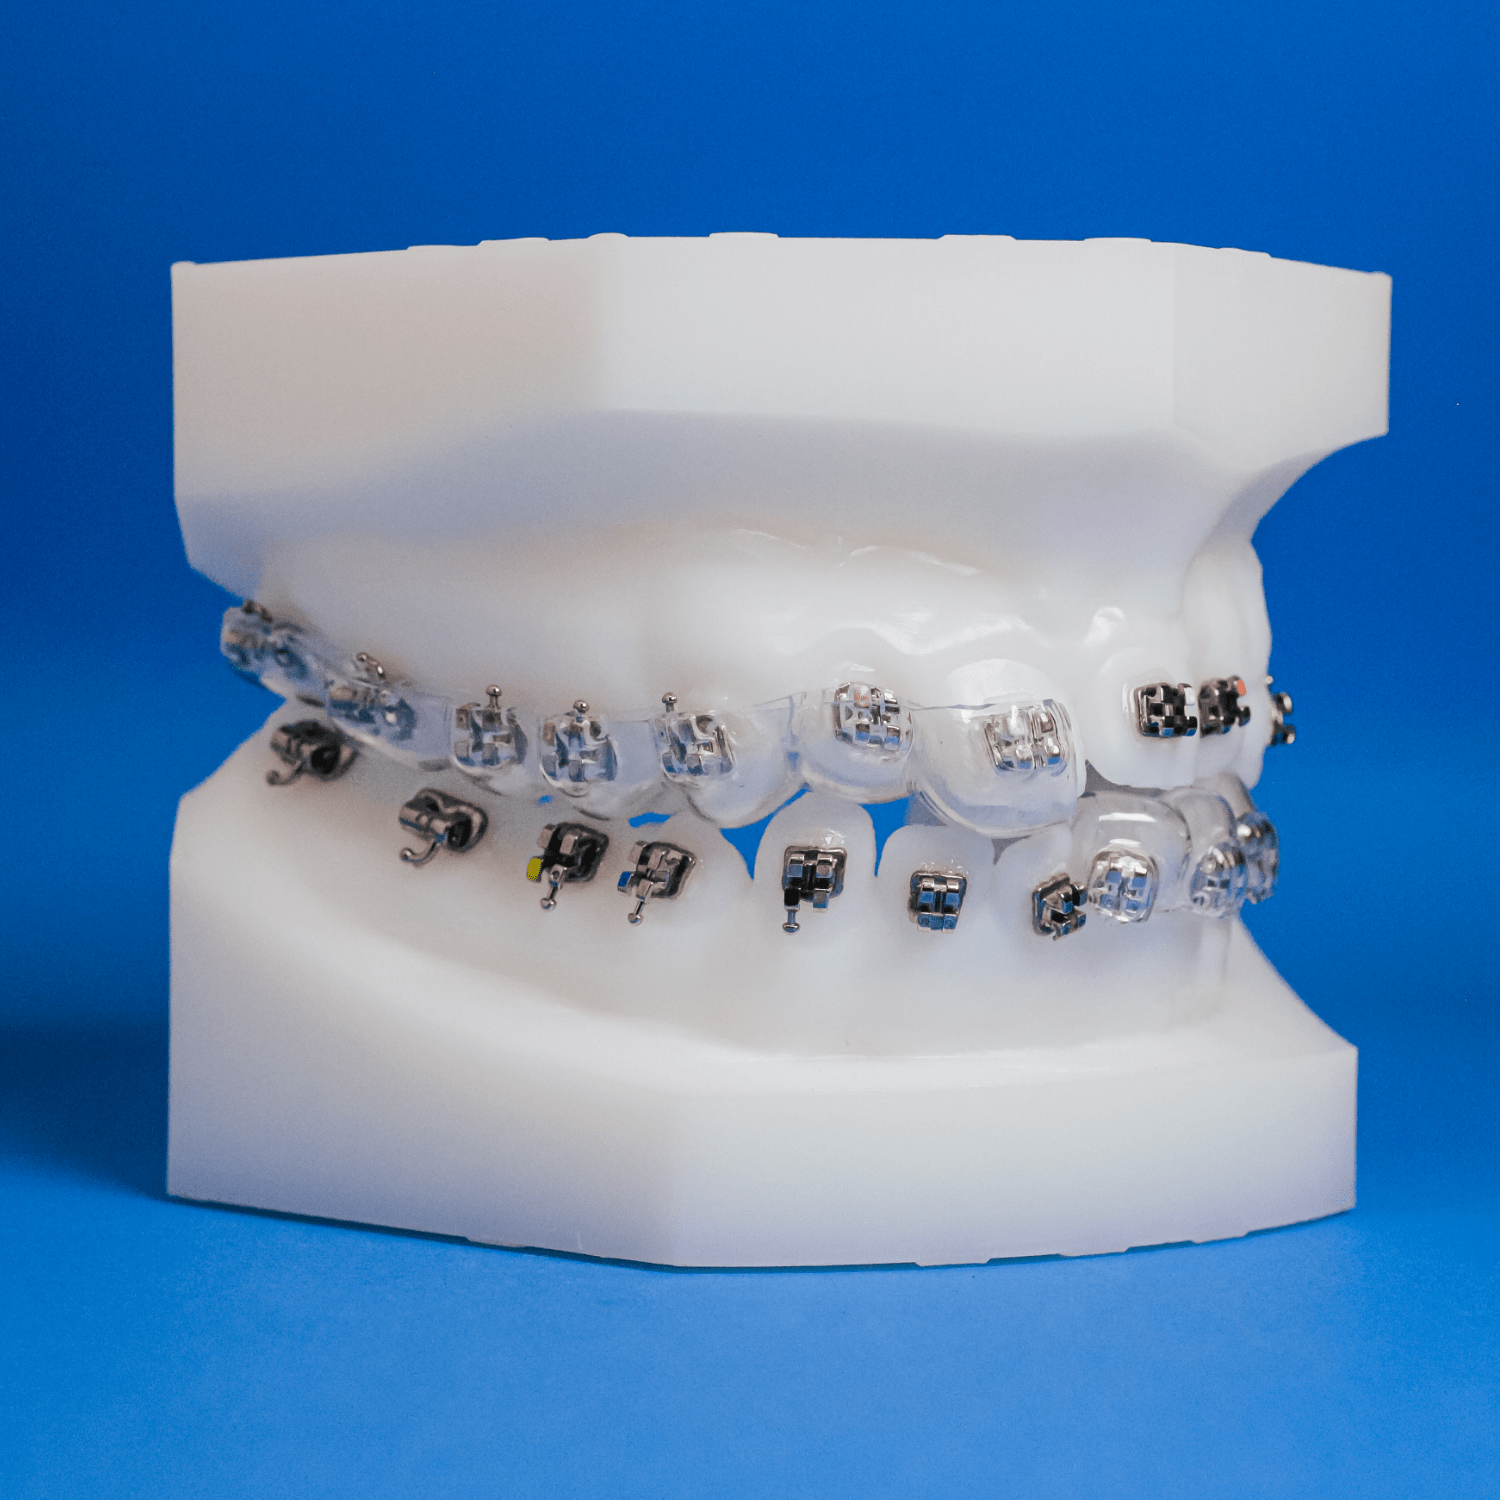
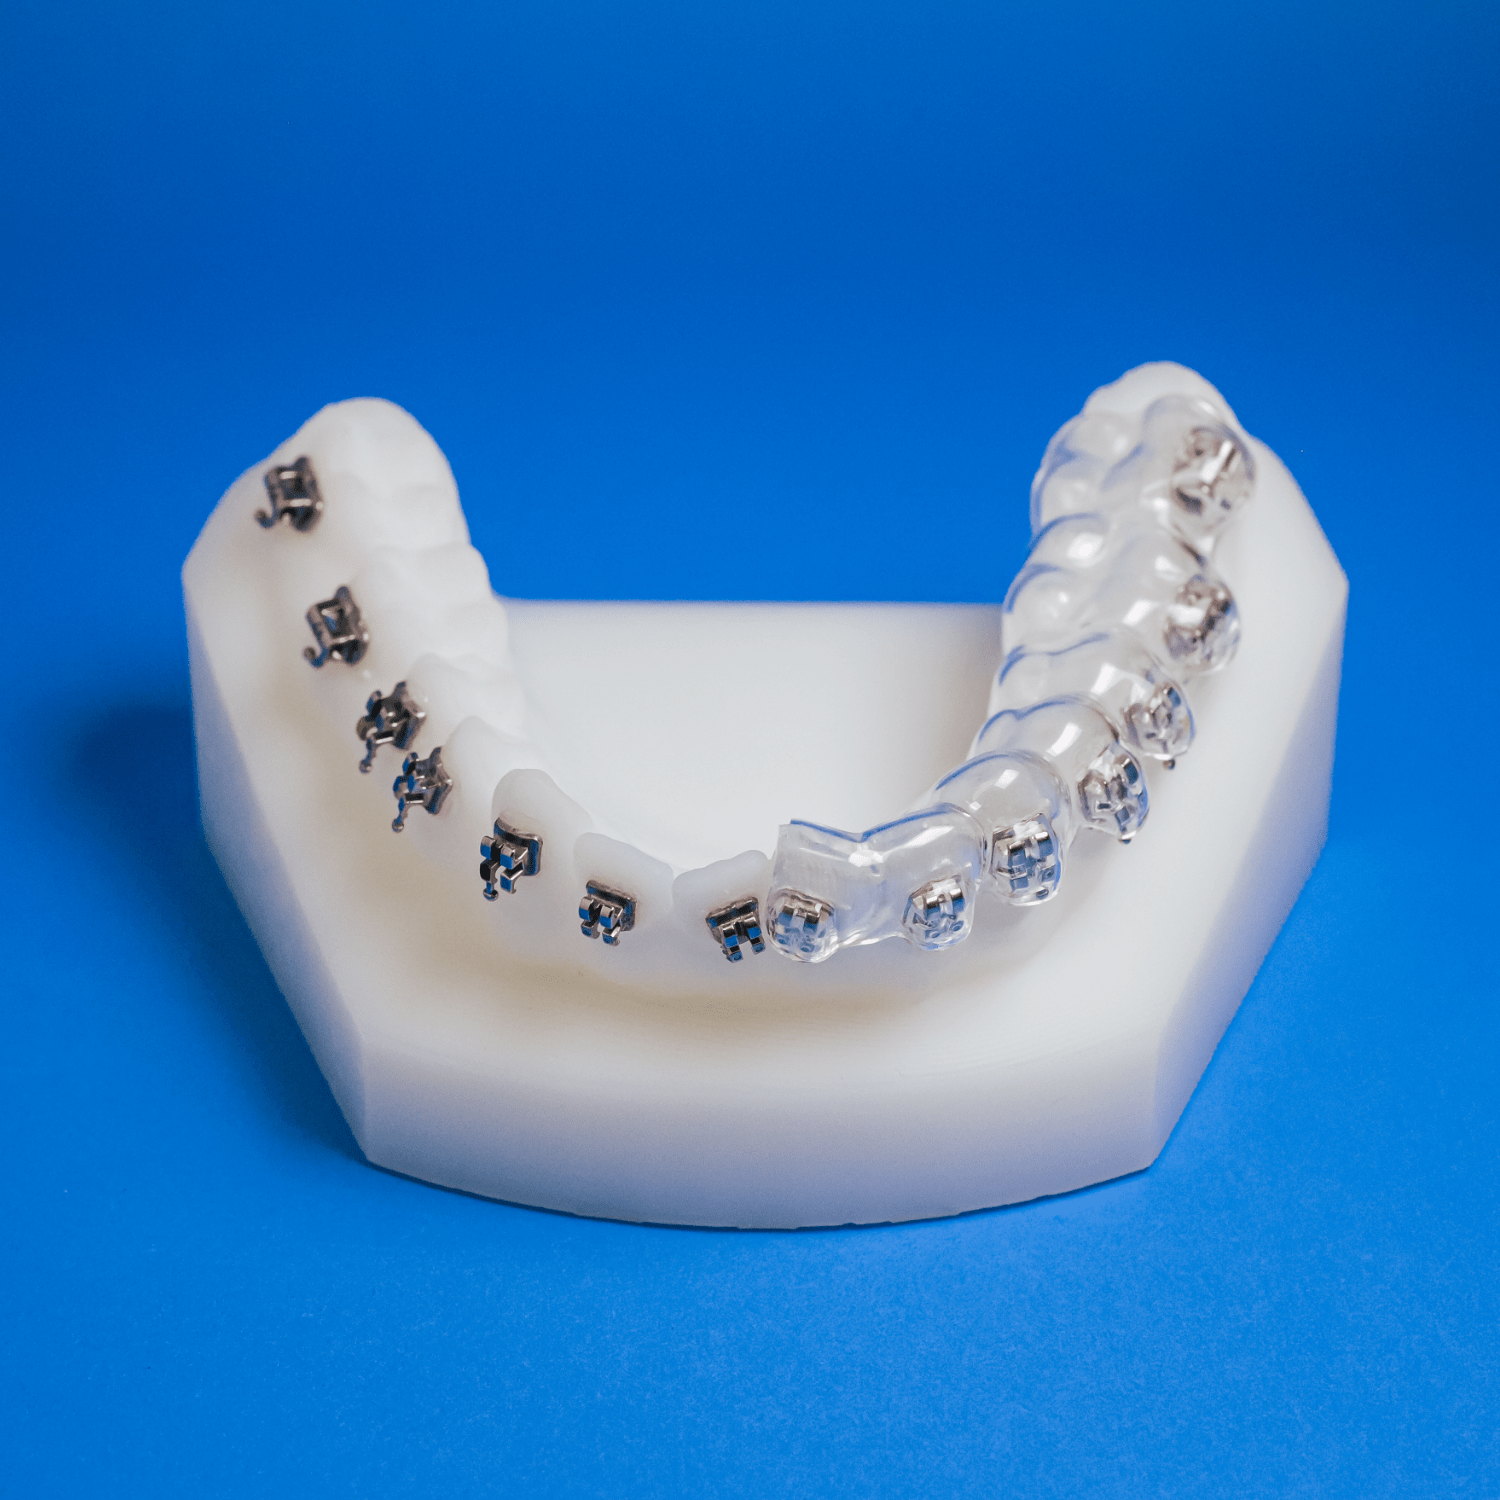
Bracket Types
- Ceramic (Twin)
- Metal (Twin or Self-Ligating)
- Doctor Provided Brackets
Tray Options
- Full Arch
- Midline Arch
- Three Piece
Arch Options
- Both Upper and Lower
Instructions for Use
View Guide3DiB Onboarding
Learn MoreThe Digital Indirect Bonding Process
1. Specialty Creates the Digital Files
First, we’ll create an ideal digital model of the teeth.
The software locates the long axis of the teeth and constructs an ideal occlusal plane. We then place the brackets based on your Rx instructions (i.e., specific vertical heights).

2. Doctor Reviews Bracket Placement
After placing the brackets in the lab, we send the files to the doctor for review and any adjustments.
This technique allows the doctor to evaluate the precise placement of each bracket without the added pressures associated with maintaining clinical isolation.

3. Specialty Prints the IB Models
After the clinician checks and approves the bracket placement, you digitally return the case to us for fabrication.
We transfer the brackets to the printed models, reflecting the placement guides, and we fabricate the bonding trays.

Transfer Trays / Support
Specialty Custom Bases
We use a light-cure adhesive to place the brackets on the printed models. This technique produces our "Custom Base" in the final product.
The advantage over the bare-mesh method is that we only need a tiny amount of adhesive for clinical bonding, reducing the chance of excess flash around the bracket bases.

Two-Tray Transfer System
The teeth are prepared per the usual etch-and-rinse steps.
The bonding adhesive (either light or auto-cure) is then applied to the composite pads in the trays with a syringe tip while the companion sealant is brushed on the etched teeth.
The doctor and team member accomplish these simultaneous tasks in as little as 2-3 minutes.

Clinical Delivery
The tray is seated from the posterior to the anterior in one motion, keeping the inner and outer trays together as one unit. The trays have a snap fit, which helps establish the seating.
Since the material is transparent, it’s easy to see and confirm that the tray is completely seated.


