
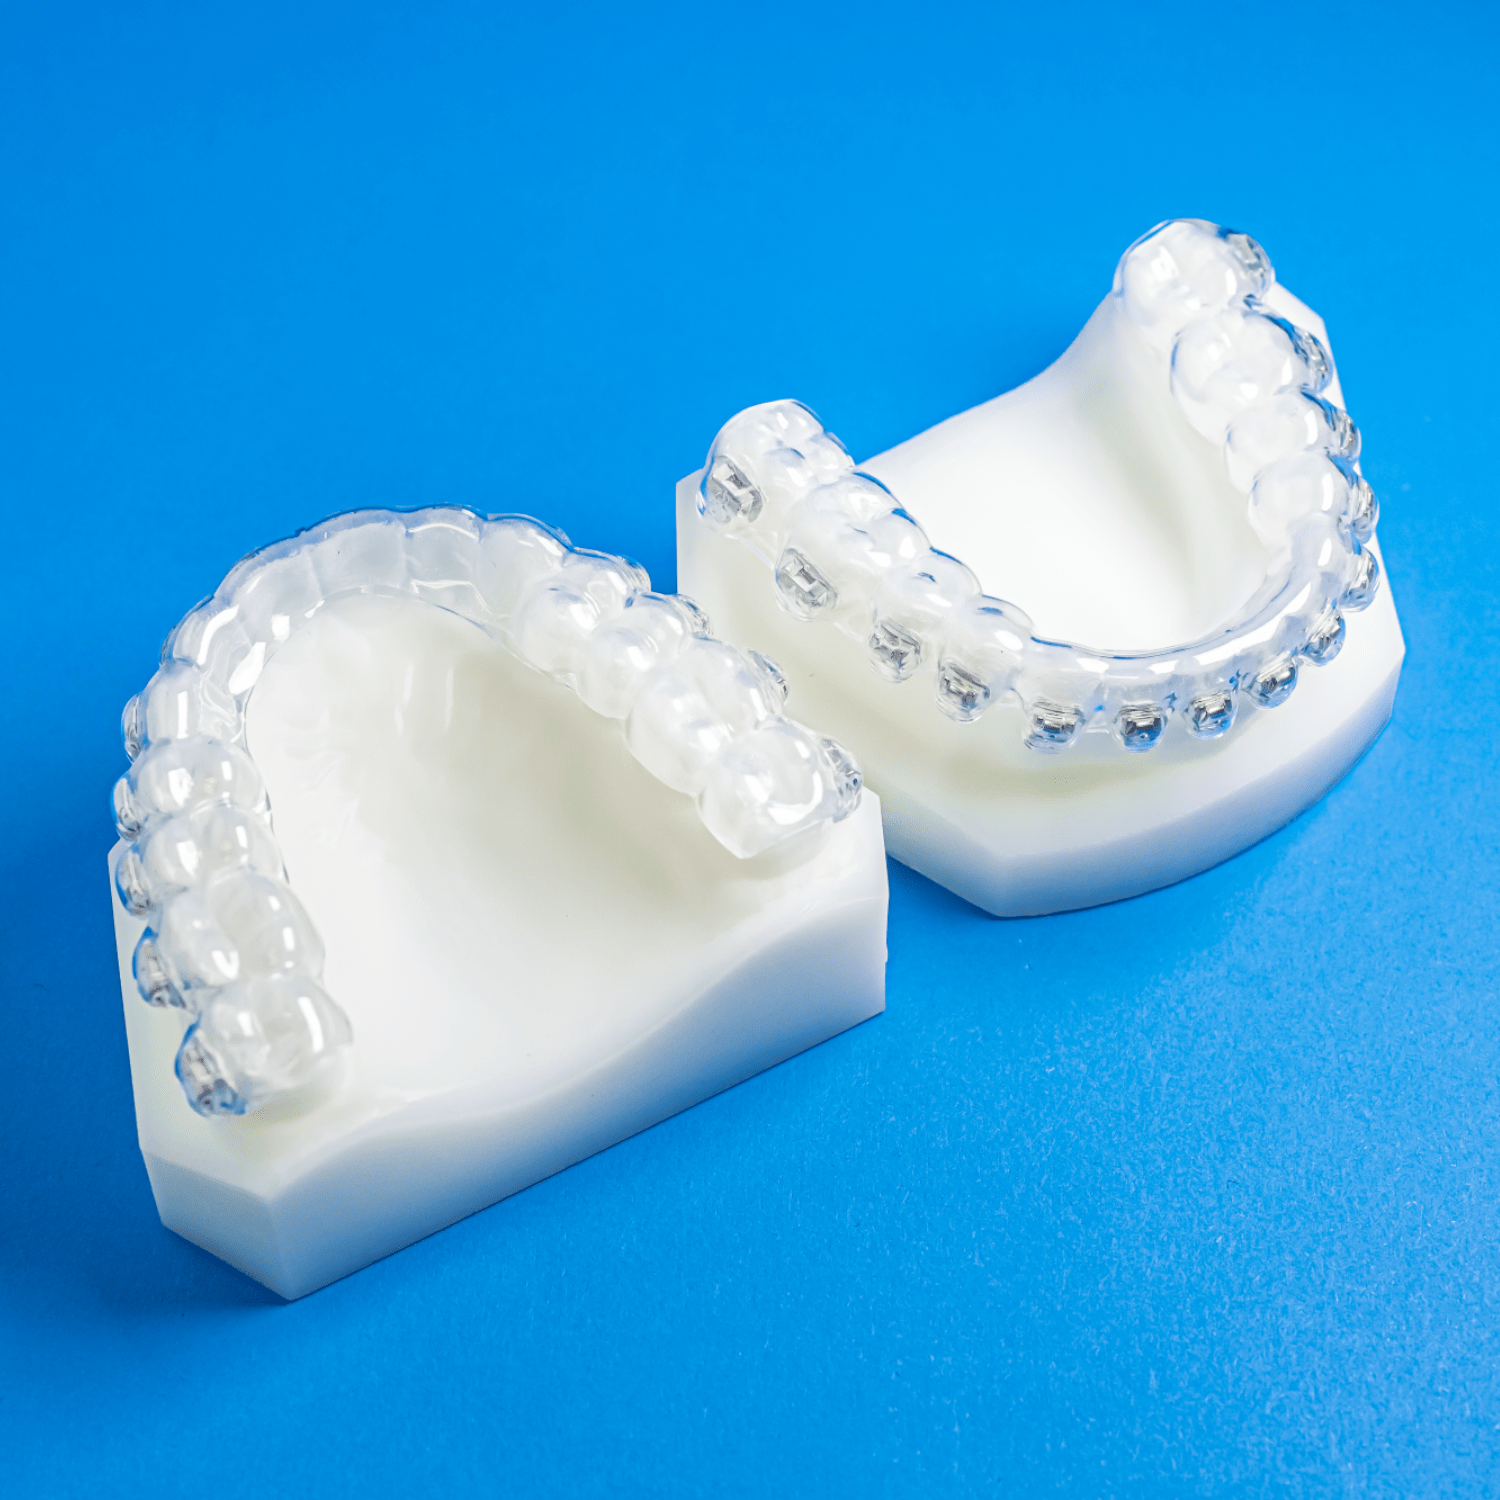
An indirect bonding tray is a custom transfer tray that carries a full arch of brackets from the lab to the patient’s mouth in one seat. The bracket positions are decided before the appointment, either on a physical setup or on a digital plan you approve, and the tray holds them there while you bond. Indirect bonding trays move the fiddly part of bracket placement out of the chair and into the lab.
The question most practices are actually asking is not whether indirect bonding works. It is which tray to use, how the arch should be split, and what has to be right before the tray is made. That is what this covers.
Traditional trays and 3D printed trays do the same job differently
Both traditional and 3D printed indirect bonding trays get brackets to the same planned positions. They differ in how the plan is made and in what you can change before fabrication.
Traditional indirect bonding starts with a model. Brackets are placed on it by hand by a technician, and a transparent transfer tray is formed over the result. We have been doing this for more than 25 years, and the placement equipment and adhesive systems behind it have been refined for that whole period. It works with any manufacturer’s brackets, so a practice can adopt it without changing anything about what it already stocks.
3D indirect bonding starts with a scan. Bracket positions are set on a digital model, and you review and adjust them before anything is fabricated. That review step is the real difference. On a traditional tray, the first time you see the placement is when the tray arrives. On a digital plan, you see it while it is still changeable, and moving a lower incisor bracket half a millimetre costs a click instead of a remake.
So the honest rule of thumb is this. If your placement preferences are settled and you want the simplest possible workflow, traditional trays are still a good answer. If you want to see and approve every bracket before it is committed, or you are working a case where torque expression on a specific tooth matters, the digital route earns its extra step.
Full arch, midline, or three piece: the choice that changes your chair time
Tray segmentation is the decision practices most often leave to default, and it has more effect on a delivery appointment than the tray material does. There are three options and each suits a different mouth.
- Full arch. One tray, one seat, fastest when everything fits. It needs an arch with no severe crowding and enough undercut clearance to seat fully without rocking.
- Midline split. Two halves. You get a clear seating reference at the midline and you can control each side independently. This is the sensible default on most cases.
- Three piece. Anteriors and two posterior segments. Use it where crowding, rotations, or a partially erupted second molar would stop a longer tray from seating. Smaller segments seat where a full arch binds.
If you are unsure, the deciding question is simple: can the tray seat fully without being forced anywhere along its length? If there is a spot where it will bind, split the tray there.
Upper and lower are planned separately, so the segmentation does not have to match between arches.
What has to be right before a tray gets made
Most indirect bonding problems are set before the lab starts. Four things decide whether the tray that comes back is the tray you wanted.
- The scan or impression. Bracket position is planned against tooth anatomy, so anything the scan missed is anatomy the plan cannot use. Incomplete gingival margins and blurred incisal edges are the usual culprits.
- The bracket prescription. Ceramic twin, metal twin, self-ligating, WildSmiles, or your own stock. Say which, and say the slot. A tray built for one prescription does not transfer another.
- Your placement preferences. Height from the incisal edge, how you want partially erupted teeth handled, which teeth to leave out. Write it once and we will hold it on file for every case after.
- Which teeth are in the case. Second molars in or out, and what to do about a tooth that will erupt during treatment.
All of that lives on the indirect bonding Rx sheet. Filling it in properly is the single biggest thing a practice can do to avoid a follow-up call.
Before the tray is made
See every bracket before we build it.
Send the scan. We plan the placement digitally and show it to you while it can still change.
Where indirect bonding trays go wrong
Trays fail in a small number of repeatable ways, and every one of them is visible before you bond if you know to look.
The tray rocks. If it does not seat passively on the model or in the mouth, something has changed or the segmentation is wrong for the arch. Do not bond a rocking tray. A rocking tray transfers every bracket slightly off, and the error is not uniform, so you cannot correct for it.
Adhesive is short or long. Custom bases are built to the tooth surface they were planned against. Too little adhesive leaves a void that fails in week two, too much floods the slot and costs you clean-up time you were trying to save.
Moisture control slips. Indirect bonding puts a whole arch on the line at once, so an isolation failure is not one bracket, it is a segment. This is the argument for splitting a tray on a patient you know is difficult to isolate.
The plan was approved without being read. On a digital case the approval click is the last moment the placement is free. It is worth the two minutes.
Indirect bonded lingual retainers are a different job
An indirect bonded lingual retainer uses a transfer tray too, but it is a retention appliance and not a bracket-placement one. The tray positions a fixed wire against the lingual surfaces so it can be bonded in one pass with the wire already adapted. The planning question is different as well: on a retainer you care about where the wire sits relative to the occlusion and the gingival margin, not about slot position or torque.
If you order both, keep the prescriptions separate. They are different appliances with different tolerances.
Common questions
Can you use our brackets? Yes. Traditional and 3D indirect bonding both work with any major manufacturer’s brackets, and we will use doctor-provided stock. We can also hold and reorder your brackets for you, which takes the inventory out of your practice.
What is the difference between indirect bonding and digital bonding? They are usually the same thing. Digital bonding, digital indirect bonding and 3DiB all describe indirect bonding where the bracket positions are planned on a scan rather than on a physical model.
Do we have to switch our whole practice over? No, and most practices should not. Run one case you would normally bond directly, and judge it on your own chair time rather than on anyone’s claim about efficiency.
Can we change bracket positions after we see the plan? On a 3D case, yes, that is the point of the review step. On a traditional tray the positions are set when the tray is formed, so preferences have to be right on the Rx.
What about a tooth that erupts mid-treatment? Leave it out of the tray and bond it directly later. Tell us on the Rx so the tray is designed around it rather than over it.
The indirect bonding webinar
Our webinar on indirect bonding covers the same ground on screen, including the digital placement step and how the review works before a tray is fabricated.
If you want a second opinion on a case
We have been building appliances since 1981, and 165 of us do it every day. We work under ISO 13485 and MDSAP, and the indirect bonding side of the lab has been running for more than 25 years. That experience is most useful to you before a case is planned rather than after it comes back.
If you have a case where the segmentation is not obvious, or a patient you know will be hard to isolate, call and talk it through with a technician first. We would rather sort it out on the plan than remake the tray.